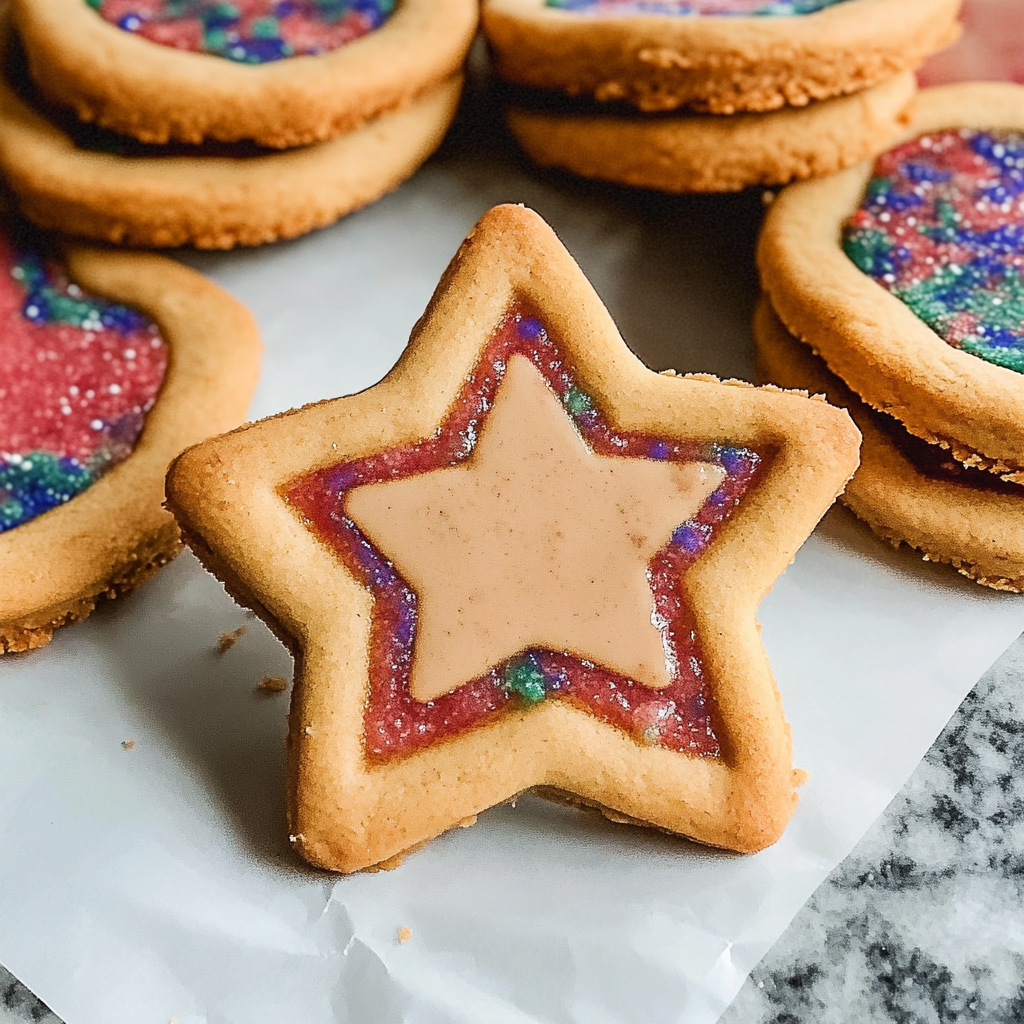
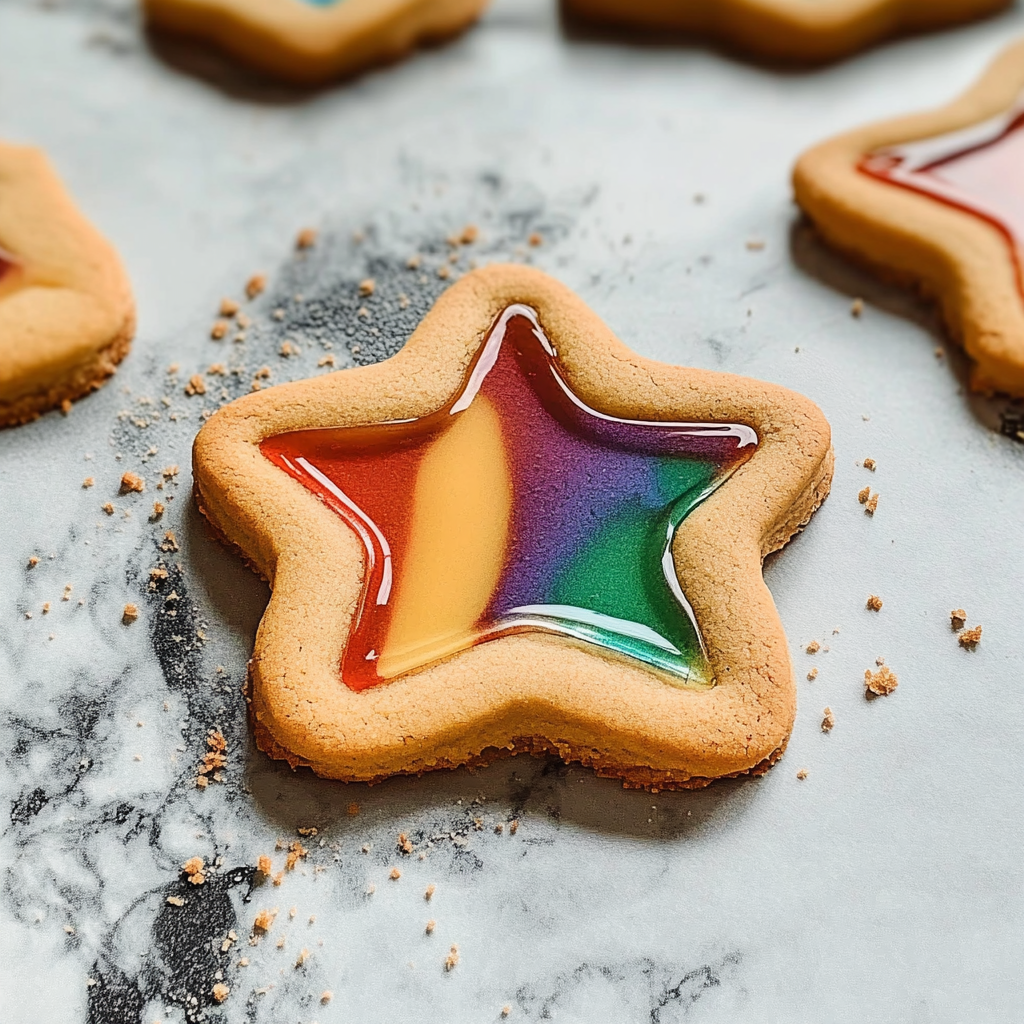
Stained Glass Cookies are like the confetti of the cookie world, bursting with color and sweetness that dances on your taste buds. Imagine biting into a buttery cookie, only to find vibrant, jewel-like candies melting and mingling with the rich flavors, creating a symphony of taste that can brighten any dull day. They’re perfect for everything from festive gatherings to cozy evenings at home, where you can enjoy them while binging your favorite show (who says cookies can’t be part of your self-care routine?).
Now, let’s talk about the warm memories attached to these delightful treats. Picture this: It’s Christmas Eve, and the kitchen is filled with laughter and flour as you attempt to craft the most beautiful stained glass cookies, only to find yourself covered in sticky dough and laughing uncontrollably at your own failed attempts. These cookies are not just desserts; they’re stories waiting to unfold in every bite.
Why You'll Love This Stained Glass Cookies
- This incredible Stained Glass Cookies transforms simple everyday ingredients into restaurant-quality flavors that will blow your mind completely.
- Foolproof recipe techniques guarantee perfect results every single time, making even novice cooks feel like professional chefs instantly.
- Stunning visual appeal with gorgeous colors and mouthwatering aromas creates the ultimate Instagram-worthy dish for any special occasion.
- Endlessly adaptable for different dietary needs while working beautifully for meal prep, date nights, or entertaining large groups effortlessly.
What You’ll Need
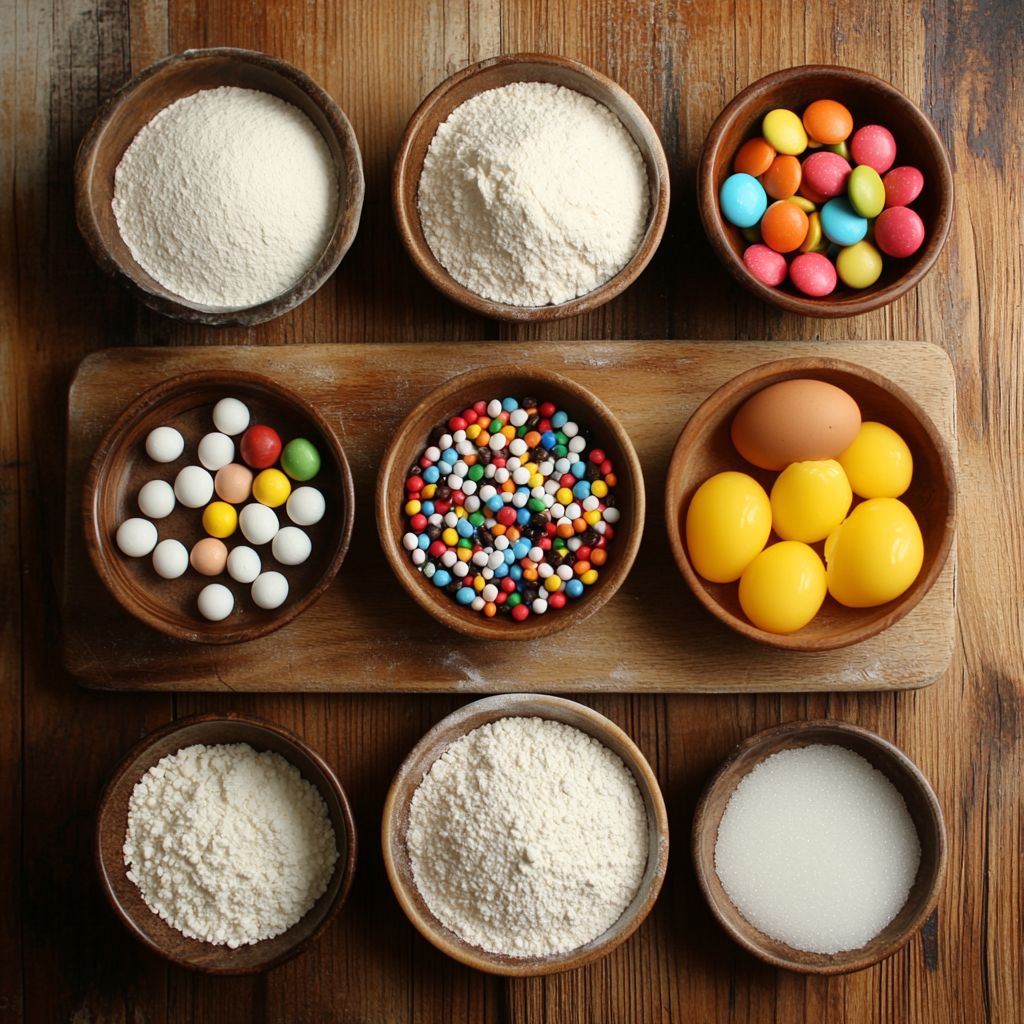
Here’s what you’ll need to make this delicious Stained Glass Cookies:
- All-Purpose Flour: The base for these cookies; sifted to create a light texture.
- Granulated Sugar: Sweetens the dough and helps achieve that lovely golden color.
- Butter: Unsalted is best; it adds creaminess and richness.
- Eggs: Just one large egg gives structure and moisture to the cookies.
- Vanilla Extract: A splash adds a delightful aroma and flavor boost.
- Baking Powder: Ensures your cookies rise beautifully.
- Salt: A pinch enhances all those sweet flavors.
- Hard Candies: Choose colorful varieties like Jolly Ranchers or Life Savers for that stunning stained glass effect.
The full ingredients list, including measurements, is provided in the recipe card directly below.
Cooking Instructions
Follow these simple steps to prepare this delicious Stained Glass Cookies:
Step 1: Preheat Your Oven
Begin by preheating your oven to 350°F (175°C). Line two baking sheets with parchment paper – we want no stick-age here!
Step 2: Prepare Your Dough
In a large mixing bowl, cream together softened butter and granulated sugar until light and fluffy. Add in the egg and vanilla extract; mix until well combined.
Step 3: Combine Dry Ingredients
In another bowl, whisk together flour, baking powder, and salt. Gradually add this mixture to your wet ingredients until a soft dough forms.
Step 4: Shape Your Cookies
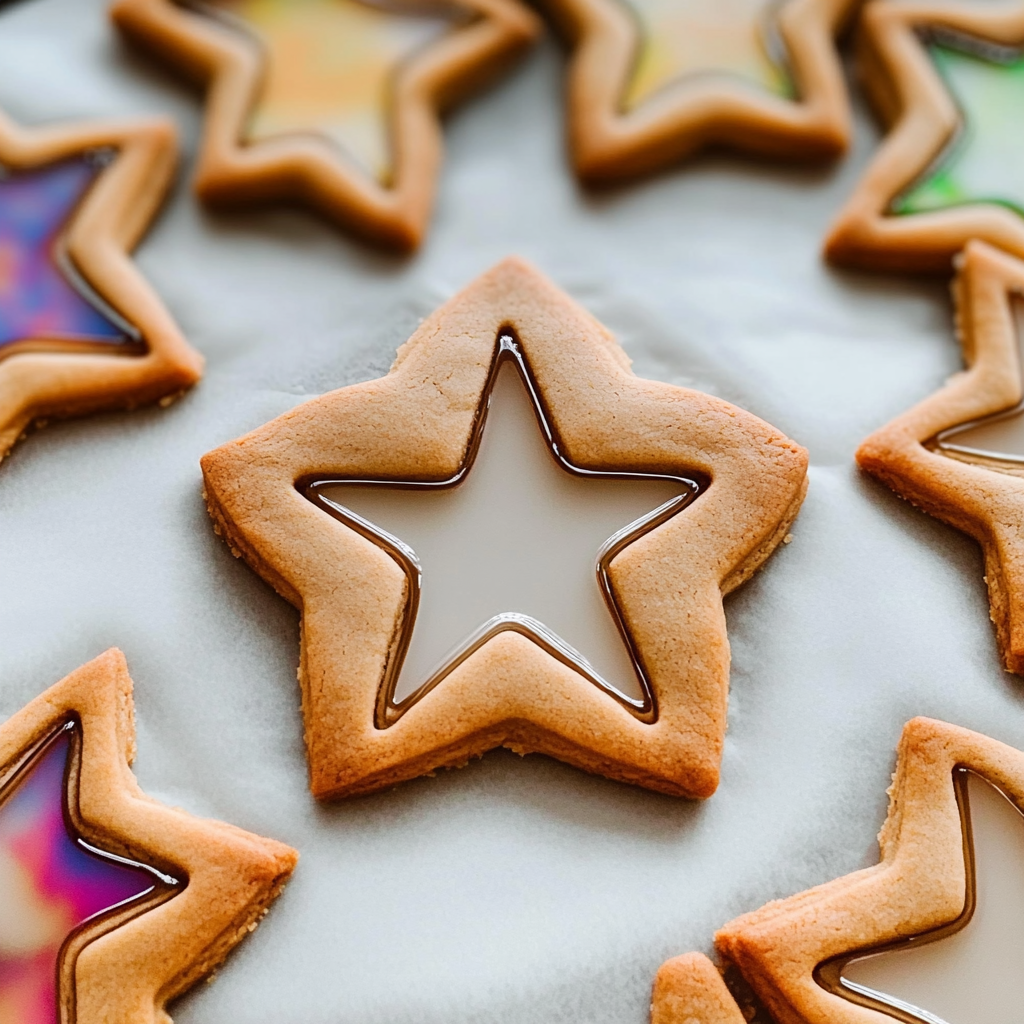
Roll out portions of dough on a floured surface until about a quarter-inch thick. Use cookie cutters to cut out shapes – remember to use smaller cutters inside larger ones for those dazzling windows!
Step 5: Add Candies
Crush hard candies into small pieces (think tiny gems) and fill each cut-out center with them. The more colorful, the better!
Step 6: Bake
Place your cookie shapes on the prepared baking sheets and bake in the preheated oven for about 10-12 minutes or until edges are lightly golden.
Transfer to plates and let cool completely before marveling at your beautiful creations! Enjoy these stained glass cookies as a treat or gift them – because who wouldn’t want a box of edible art?
You Must Know About Stained Glass Cookies
- This showstopping Stained Glass Cookies delivers restaurant-quality results using simple ingredients you probably already have at home.
- The perfect balance of textures and flavors creates an unforgettable dining experience that will have everyone asking for seconds.
- Picture-perfect presentation with vibrant colors makes this dish absolutely Instagram-worthy and guaranteed to impress any dinner guest.
- Incredibly versatile recipe that works beautifully for weeknight dinners, meal prep, special occasions, or even outdoor entertaining sessions.
Perfecting Cooking Process
The best way to tackle Stained Glass Cookies is to prepare your dough first and chill it while you gather your colorful candy options. Once chilled, roll, cut, and fill the centers with crushed candies before baking to perfection.
Flavor Your Way
Feel free to mix things up! Swap out the vanilla extract for almond for a nutty twist or add a hint of citrus zest. You can also use different types of candies to create unique color combinations.
Storing & Reheating
Store your Stained Glass Cookies in an airtight container at room temperature for up to one week. To reheat, pop them in the microwave for a few seconds—just enough to warm them without ruining the beautiful glass effect.
Chef's Helpful Tips for Stained Glass Cookies
- This professional-quality Stained Glass Cookies relies on precise timing and temperature control to achieve restaurant-standard results consistently.
- Master the art of mise en place by prepping all ingredients beforehand, ensuring smooth execution and preventing any last-minute cooking disasters.
- The secret lies in layering flavors throughout the cooking process rather than seasoning only at the end for maximum depth.
- Pro tip: let the finished dish rest for optimal texture and flavor development before serving to hungry guests waiting eagerly.
Baking these cookies reminds me of that time my friends gathered around my kitchen, eyes wide like kids in a candy store. They couldn’t believe how these colorful treats turned out—and let’s just say there were no leftovers!
FAQs
What is Stained Glass Cookies?
Stained Glass Cookies are delightful and vibrant treats that feature a colorful, transparent candy center resembling stained glass. These cookies are typically made from a sugar cookie dough that is rolled out and cut into shapes. Before baking, pieces of hard candy are placed in the centers of the cookie shapes. When baked, the candy melts and creates a beautiful stained glass effect that is perfect for holidays or special occasions.
How do I make Stained Glass Cookies?
To make Stained Glass Cookies, start by preparing a basic sugar cookie dough using flour, butter, sugar, eggs, and vanilla extract. Roll out the dough and cut it into your desired shapes. Use a smaller cookie cutter to create an opening in the center of each shape. Fill these openings with crushed hard candies before baking them at 350°F until golden brown. Once cooled, you will have stunning cookies with a colorful candy center.
Can I customize Stained Glass Cookies?
Absolutely! You can customize Stained Glass Cookies by using different shapes and colors of hard candies. Experiment with seasonal themes by choosing colors that match holidays or events. You can also add flavorings to the dough like almond or lemon for extra taste. For a fun twist, try using flavored hard candies that complement your cookie base.
How should I store Stained Glass Cookies?
To keep your Stained Glass Cookies fresh, store them in an airtight container at room temperature. They will remain good for about a week. If you want to extend their shelf life, consider refrigerating them; just be sure they are well wrapped to prevent moisture loss. Avoid freezing these cookies as it may affect their texture and appearance once thawed.
Conclusion
In summary, Stained Glass Cookies are not only visually striking but also delightful in taste. Their vibrant colors and unique presentation make them perfect for any celebration or holiday gathering. By following simple steps to create this treat, you can enjoy baking while impressing family and friends with your creativity. Make sure to customize your cookies for added fun! Enjoy making and sharing these beautiful treats!

Stained Glass Cookies
- Total Time: 27 minutes
- Yield: Approximately 24 cookies 1x
Description
Stained Glass Cookies are a delightful treat that brings color and creativity to your baking. With a buttery cookie base and vibrant, jewel-like candy centers, these cookies are perfect for any occasion, from festive gatherings to cozy nights at home. This easy recipe is suitable for bakers of all skill levels, allowing you to create edible art that will impress family and friends.
Ingredients
- 2 ¾ cups all-purpose flour
- 1 cup granulated sugar
- 1 cup unsalted butter, softened
- 1 large egg
- 2 tsp vanilla extract
- 1 tsp baking powder
- ½ tsp salt
- 1 cup assorted hard candies, crushed
Instructions
- Preheat the oven to 350°F (175°C) and line two baking sheets with parchment paper.
- In a mixing bowl, cream together softened butter and granulated sugar until light and fluffy. Mix in the egg and vanilla extract.
- In another bowl, whisk together flour, baking powder, and salt. Gradually combine with the wet mixture until a soft dough forms.
- Roll out portions of dough on a floured surface to about ¼ inch thick. Cut shapes using cookie cutters, ensuring smaller shapes are cut from the centers for windows.
- Fill each cut-out center with crushed hard candies.
- Place cookies on the prepared sheets and bake for 10-12 minutes until edges are golden. Cool completely before serving.
- Prep Time: 15 minutes
- Cook Time: 12 minutes
- Category: Dessert
- Method: Baking
- Cuisine: American
Nutrition
- Serving Size: 1 cookie (30g)
- Calories: 150
- Sugar: 10g
- Sodium: 50mg
- Fat: 7g
- Saturated Fat: 4g
- Unsaturated Fat: 2g
- Trans Fat: 0g
- Carbohydrates: 21g
- Fiber: <1g
- Protein: 2g
- Cholesterol: 20mg